Glass skin tutorial
| Language: | [[::Glass skin tutorial|English]] |
|---|
Glass Skins Tutorial
Requirements:
- An installed image editor which can edit *.dds files, for this tutorial we will use Paint.net (http://www.getpaint.net/download.html), it's free open source image editor .
Let's Start :
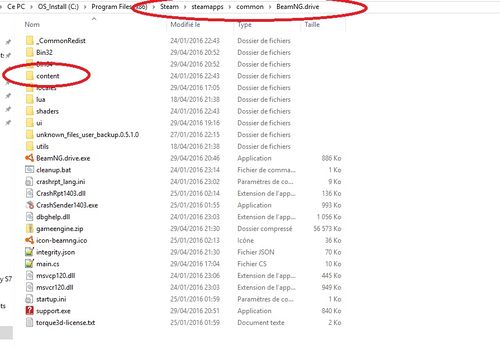
- 1. Find and make a new copy of the required glass files, in this tutorial we use the covet. Go to your main BeamNG.drive folder (C:\Program Files (x86)\Steam\steamapps\common\BeamNG.drive) ,
First open the "content" folder
Then, open the "vehicles" folder and open the "hatch" folder

Then copy the three required files : "hatch_glass_d.dds" , "hatch_glass_da.dds" and "hatch_glass_dmg_d.dds"
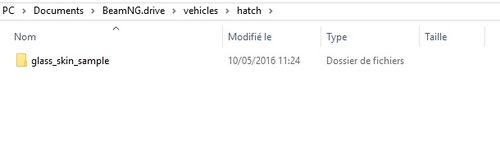
- 2. Create a "hatch" folder in your BeamNG.drive documents folder if you have not got one already : \documents\BeamNG.drive\vehicles\hatch
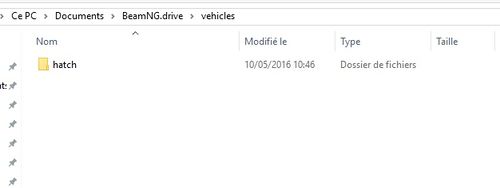
Next create a folder for your skin in the "hatch" folder, I named mine "glass_skin_sample"
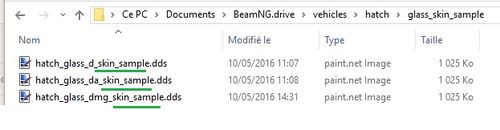
- 3. Copy the three glass files into this new folder
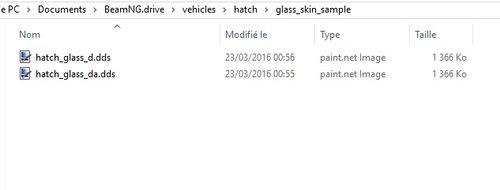
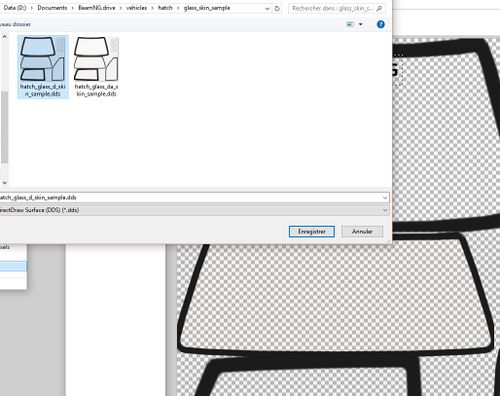
Now rename it, for this example I added "skin_sample" to the file name : "hatch_glass_d_skin_sample.dds and hatch_glass_da_skin_sample.dds
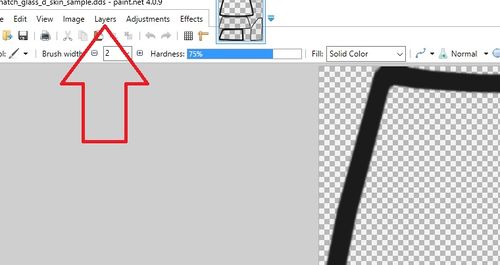
- 4. Open the file in paint.net
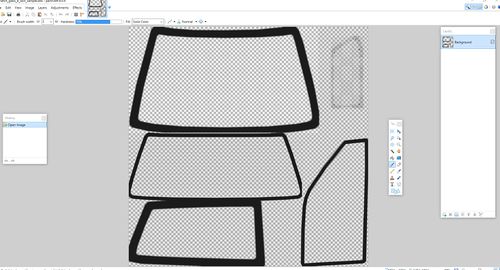
In order to edit the three files all at once, use the "layers" feature of paint.net,
First click on layer :
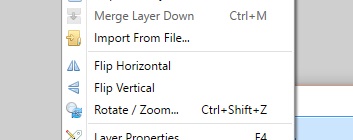
Then click "import from file"
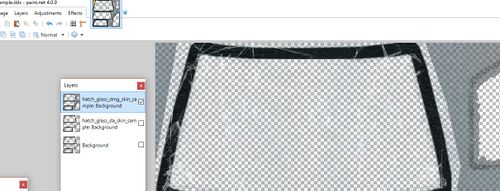
Next select the second glass file and do the same for the third. It should now look like this :
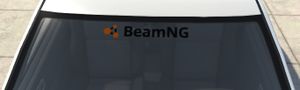
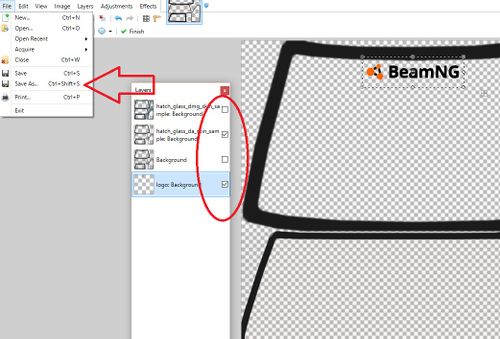
The next step is to import a new layer with the skin/image you want to put onto the glass, I chose the BeamNG.drive logo :

- 5. Save and overwrite the images in your skin folder
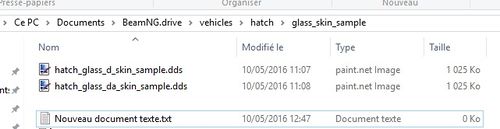
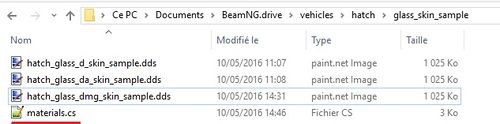
- 6. Create a materials.cs file in the skin folder (I created a new .txt file and rename it to materials.cs)
If you would like to add the glass skin to a car skin, use the materials.cs file from your skin , just add the following lines
Next use the materials.cs file located in the game's hatch folder, and copy the line: ("hatch_glass" , "hatch_glass_int" and "hatch_windshield_dmg) to our new materials file:
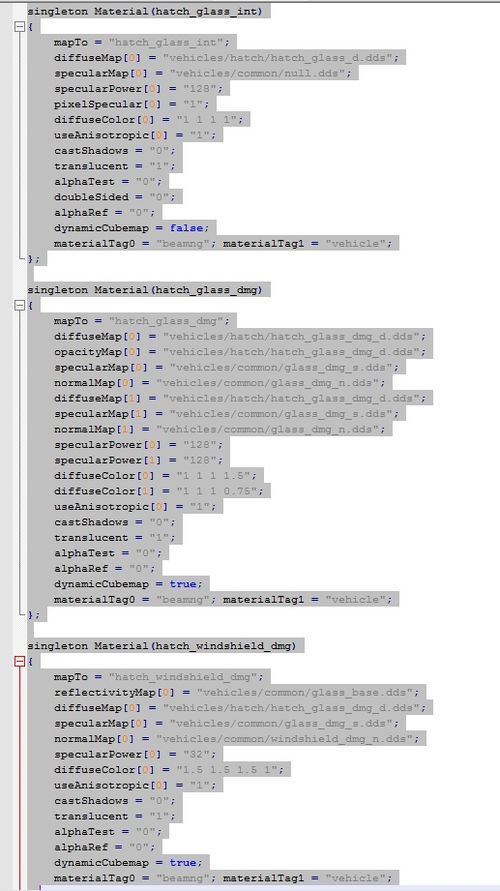
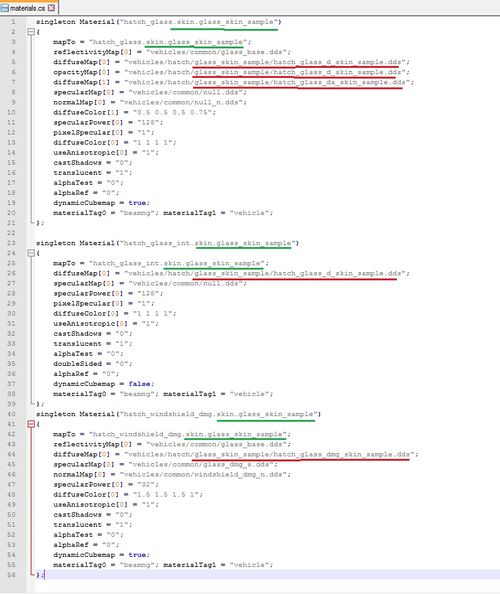
Now we have to edit the materials in order to make our skin work :
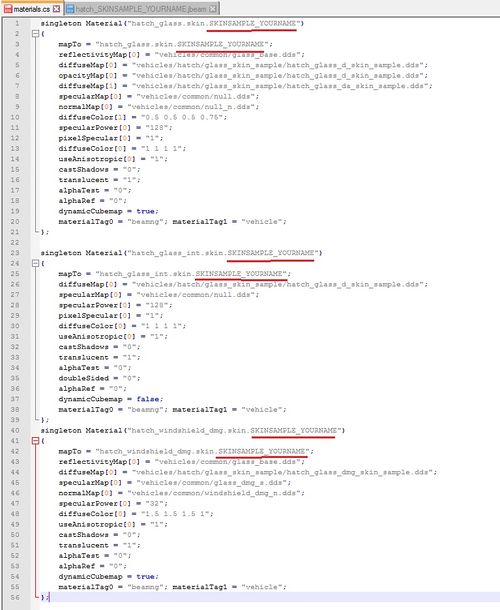
First step add the skin parameter and skin name to the material name and "Map To=":
![]()
Then add the path to your skin folder and modify the skin file name:
You can now save your materials.cs file
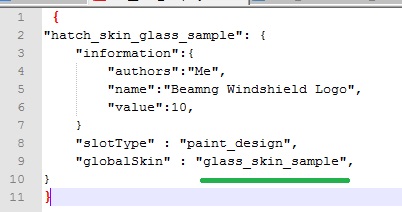
7. Create a new jbeam file in your skin folder (I create a new txt file and rename it to skin_glass_sample.jbeam)
If you choose to add your glass skin to a car skin, you do not need to add a new jbeam file
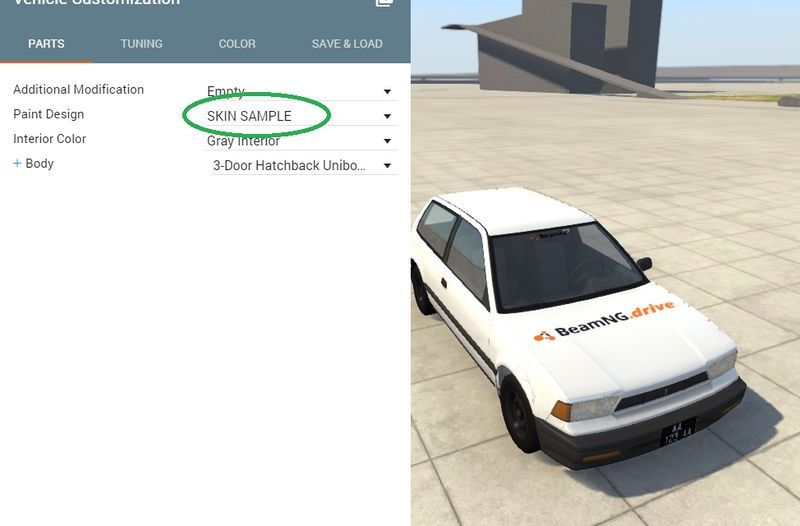
You can now start BeamNG.drive. You can find your skin in the part selector menu.
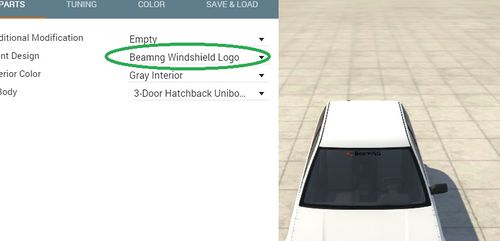
Now your have your own glass skin, enjoy it :)
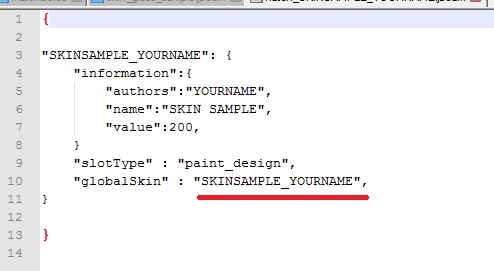
Combine a skin and a glass skin:
If you keep the exact same "Global Skin" name , you can combine the glass skin and a car skin , for example with the Simple skin tutorial , you don't need a new jbeam , just change the glass skin name on the materials to the same exact name as the "Simple Skin Tutorial" :
And now you have a nice skin ;)