Screenshots
Contents
Screenshots:
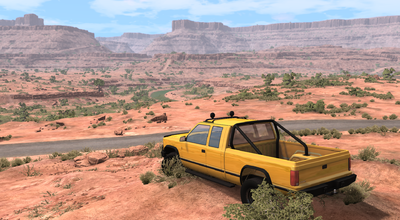
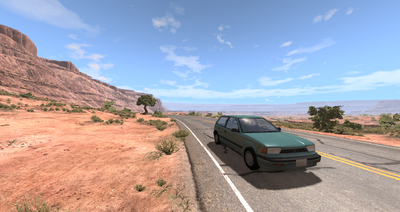
BeamNG has built in support for taking screenshots.
- Then, on photo mode your can adjust the fov and your point of view
- The screenshots are saved to : C:\users\<username>\Documents\BeamNG.drive\screenshots
Taking High-Resolution (Big) Screenshots
To take a high-resolution screenshot, start photo mode as normal. Now position the camera and edit the FOV and Roll to your liking. Now, press ⇧ Shift + U to hide the HUD. To take the screenshot, press Alt + P. The camera will take several small screenshots, and stich them together, creating a bigger one.
Screenshots 101:
Taking a screenshot is like taking a photo or painting a picture, you need to have good composition. Composition is just a fancy way of describing how things are placed and laid out. As with all art this is very subjective and I would suggest being creative, but there are many agreed upon methods you can use to get good composition. The following are some good ways to help with this.
Composition Ideas
Thinking in thirds.
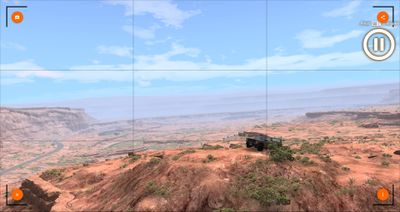
Often on digital cameras you will see the option to split your screen into a grid of squares, 9 of them to be exact. These can be used to help with composition.
This is what BeamNG looks like when you enable the grid that can be found under the ellipsis button in the bottom right. When using thirds your focal point should always be on at least one of the 4 lines, this helps a lot with composition because it means you don't end up with the focal point in the center of the screen.
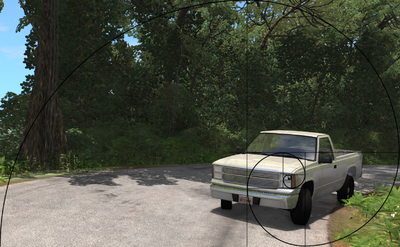
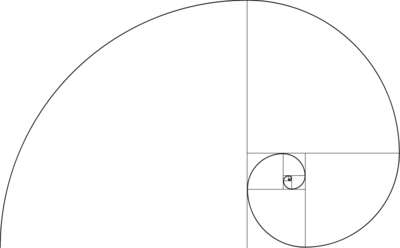
Fibonacci spiral
You may sometimes see this on digital cameras although it tends to be less common, but still does a good job.
A Fibonacci spiral can be used rotated at any right angle you wish, or even flipped. You use this by making the focal point around the center of the spiral. This is in effect quite similar to the thirds strategy, its just a little more restrictive.
I would suggest using this as a concept, it would be quite difficult to get this exactly correct without overlaying the spiral over your screen.
A note on composition overlays
Both of the above are good ways to think about framing a screenshot. However like most things listed on this page they are not a rule. There are many images that have the main focus in the centre of the image which can be very effective for certain shots. It is also just as possible to have the focal point in a position that does not conform to any of the above, your eyes should be the judge of what looks good, not solely the two above types of composition overlay.
Perspective
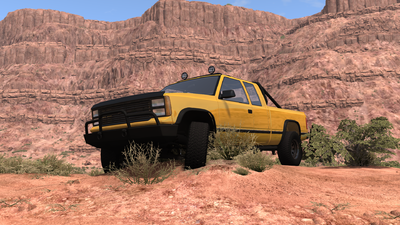
It can also be very useful to think about what sort of emotion you wish to convey in an image. Images taken from a low angle make the subject look larger and more imposing, Images taken from behind showing what is in front can invoke the emotion of exploration and the future of what is to come.
Colour
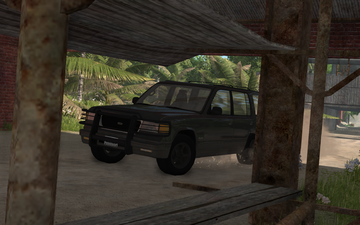
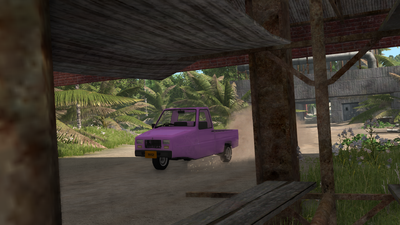
You may even want to consider the colour of the vehicle and how that may affect the emotions that you wish to convey in the image. A black "Murdered out" SUV will convey a very different message compared with a pastel pink Ibishu Pigeon.
FOV (field of view)
Field of view is a very useful tool for creating cool screenshots. It allows you to create more professional and photo like screenshots.
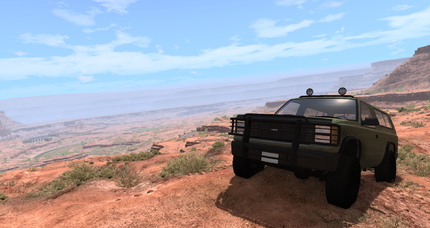
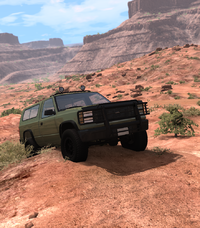
Left = Default BeamNG FOV
Right = Using a custom FOV of 30
To adjust FOV in BeamNG, click the three dots in the bottom left corner when in camera mode and change it. Alternatively, you can open the debug and adjust it there.
Aspect ratio
Who said you have to take a screenshot at your native aspect ratio?
Left = Almost 16:9
Centre = Super wide
Right = Super tall
In some circumstances a super wide aspect ratio can look really nice. Sometimes normal 16:9 looks really nice, its up to you to decide which to go for. You could even go as far as doing something in portrait.
In order to achieve different aspect ratios you can make your game windowed and then stretch the window to the desired size.
Breaking these guidelines
Do it, break them. I dare you!
It is a good idea to try new ideas and use your imagination when taking screenshots. These are guidelines for a reason, there are so many different ways to take a screenshot, these work, but creativity is key. So feel free to break these guidelines in the pursuit of that one epic image.
-Side note- An unedited (Aspect ratio wise) BeamNG.DRIVE Screenshot can make an incredible background for a desktop.

