Starting a new map project
Contents
The map format has undergone drastic changes since this article was written. It may be hard to follow this tutorial word for word but it still should be somewhat helpful.
Welcome to this tutorial. It is written so that even the absolute beginners can understand it and start making a map of their own, with their own assets and/or with assets from official maps. You must read it in order for the process to work.
First-time Preparation
You only need to do this section once forever
You will need Notepad++ for this tutorial. Download it at https://notepad-plus-plus.org/
Additionally, you should make Windows display ALL file extensions by launching Windows Explorer > clicking the "Organize" drop-down menu in the top left corner > Folder and Search options > View tab > uncheck "Hide extensions for known file types"
Folder Structure
You only need to do this section when you start a new map, if you are reading this for the first time you probably are
Now we can start working on the map. Since you are reading this tutorial, you are most likely a beginner and do not have much experience if any creating maps in the Torque3D engine which is what BeamNG.drive uses. This tutorial will show you how to create a map with all the East Coast, USA assets available to you. Importing assets from other maps will be covered in a different tutorial eventually.
To start, navigate to the BeamNG installation directory, which is usually in C:\Program Files (x86)\Steam\steamapps\common\BeamNG.drive . Inside of this folder, double click on the content folder, then the levels folder. Right click on east_coast_usa.zip and click Copy. Now go to Documents\BeamNG.drive\levels and Paste the zip folder there. Go inside the zip, double click on levels, single click east_coast_usa and then right click on Cut. Go back to Documents\BeamNG.drive\levels , right click, and then click on Paste. Once the east_coast_usa folder is completely transferred to this place, you can delete the zip from Documents\BeamNG.drive\levels
Now, rename the extracted folder from east_coast_usa to something reminiscent of your project, but it must be short and must not contain any spaces (use underscores instead). This name won't show up in the level selector but it will be the folder name that all the material assignment files will refer to (don't worry about what that means yet).
The first thing you will want to do is delete all the .prefab files that you see. These are scenario files and if you do not delete them, you will have a great deal of duplicate scenarios. DO NOT DELETE ANY .JSON FILES Lastly, delete the export , scenarios , and quickrace folders.
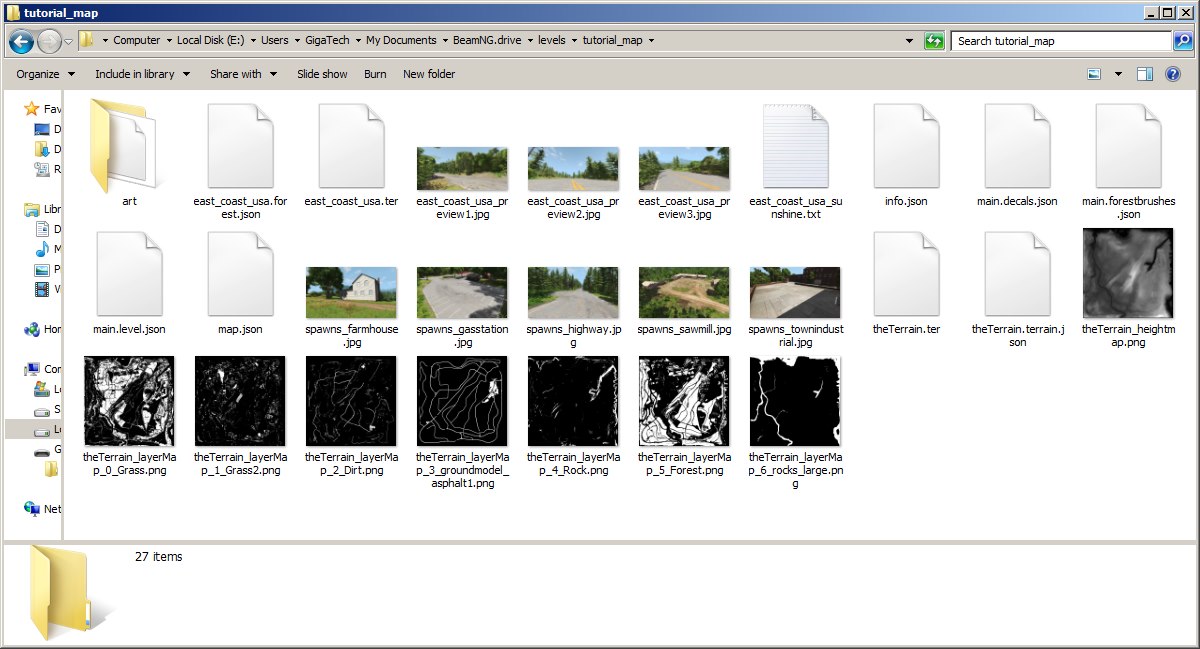
At this point your level folder should look something like this:

Mass Renaming
We need to do one more thing before we can work on the map in-game. We need to rename all the files and file paths everywhere in this level to match the folder name we gave to our level. Do the following file name changes in the main folder, replacing tutorial_map with the name you gave your level folder:
east_coast_usa.forest.json >> tutorial_map.forest.json
east_coast_usa.ter >> tutorial_map.ter
File paths
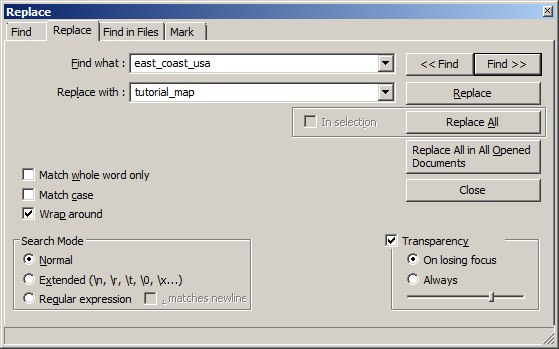
And now you will need to change the file paths. First, open main.level.json in Notepad++. Press Ctrl+F to access the Find... menu. Click on the Replace tab and fill out the two fields with this information, replacing tutorial_map with the name you gave your level folder. Click Replace All.
Close that little window and click the Save button in the top left.

Now go through every single folder in art and open every materials.cs file you see, finding and replacing the same two things in each one.
Level info
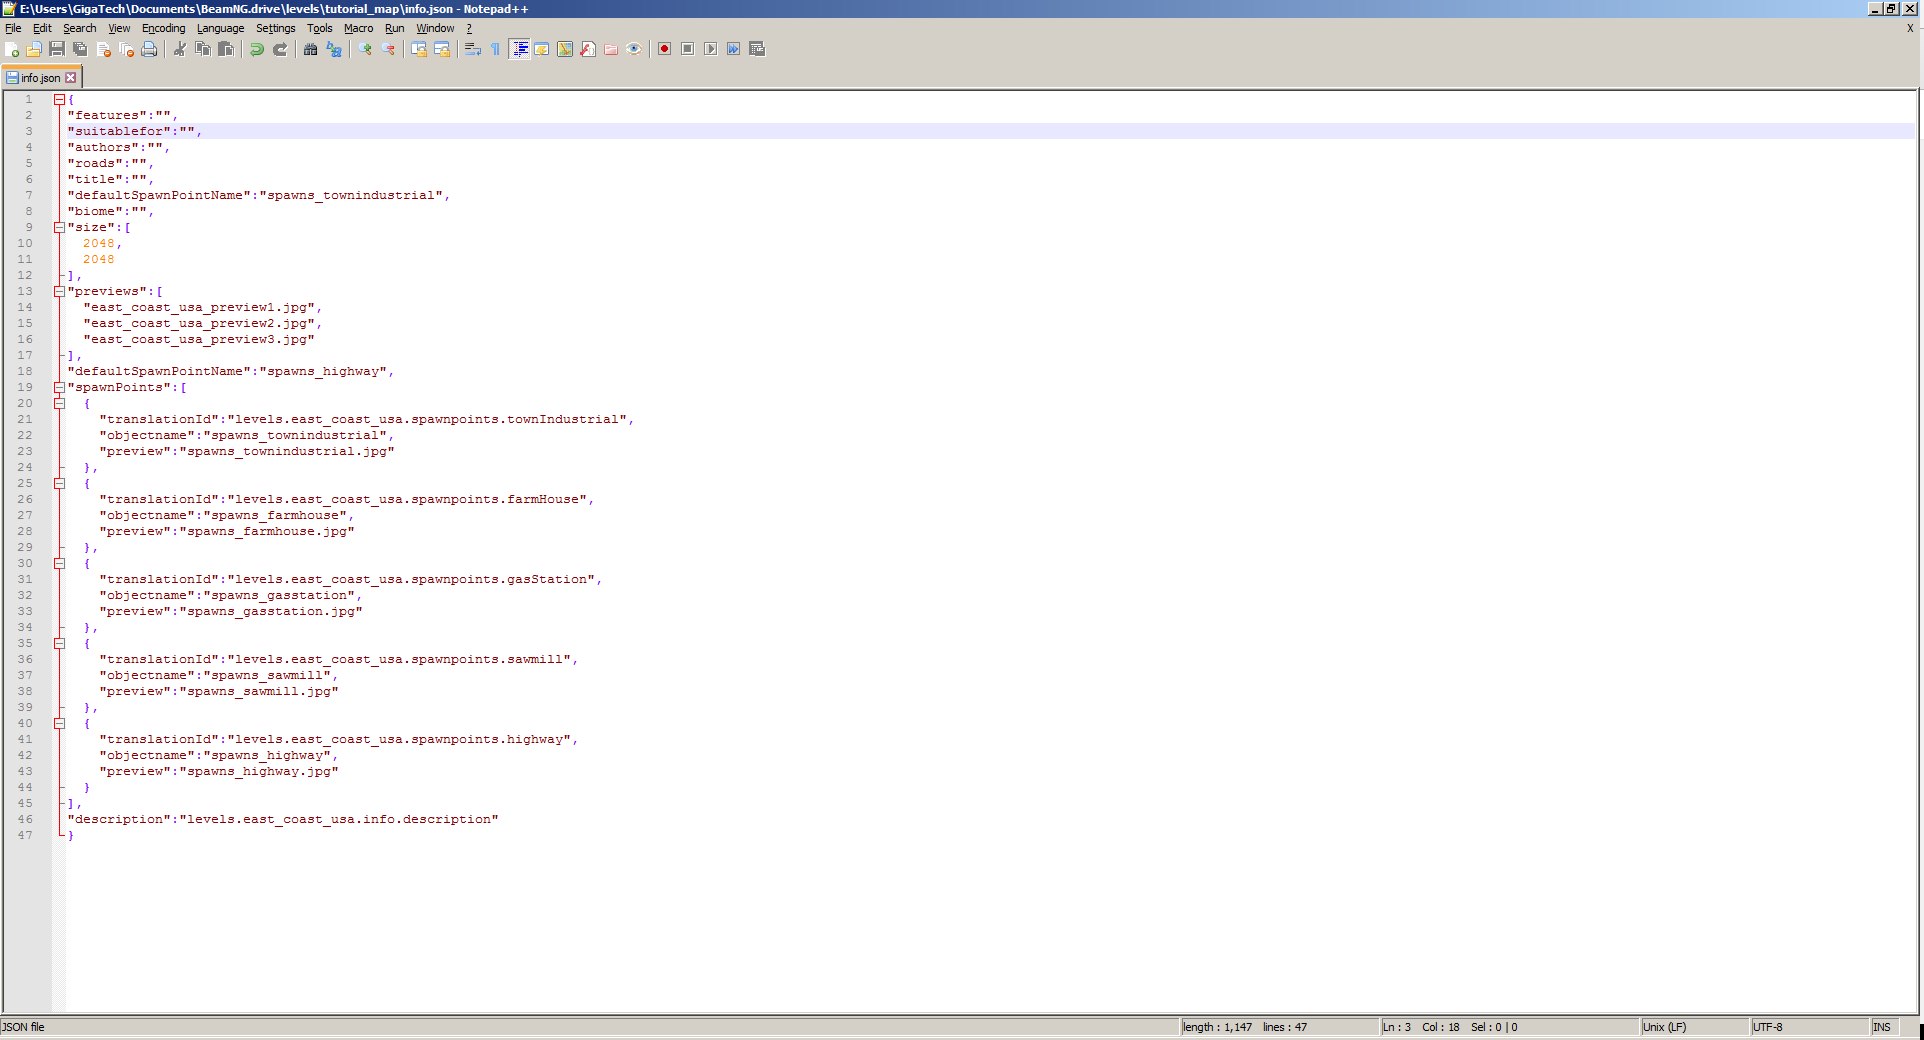
Now you can fill out the info.json file which contains the information displayed in the level selector. Open it in Notepad++. Remove anything that is in between parentheses and is to the right of a colon on the same line, EXCEPT FOR items in the previews section, the default_spawn_point_name section, and the spawnPoints section. Here's what info.json should look like before you fill it out:
Fill out the now blank fields, it is pretty self explanatory. Note that this is what is shown to the player only in the level selector, anything you input for these fields will not affect how the overall map will be in the level editor.
In game initial setup
Load up BeamNG.drive, and open your map. You should see that it is exactly like East Coast, USA except without the scenarios.
To enter the level editor, make sure you are in Windowed mode. If not, press Alt+Enter. Then press F11.
Now delete everything in the top right item selector by first clicking the little arrow next to MissionGroup. Delete all folders except for PlayerDropPoints and sky_and_sun. Also delete all the other items EXCEPT for something labeled as "thePlayer" or similar (it usually is marked with the BeamNG logo). The delete process can take as long as a couple minutes, so be patient.
Setting up your own plane for the player to drive on
Go to File > Create Blank Terrain. Give this any name you want, it really does not matter. For Material, I recommend Grass or Concrete. Resolution defines the size of your map. 256 means that your map will be 256x256 meters, and so on. I do not recommend making a map bigger than 512x512 for your very first map. Anything bigger is not necessary for learning how to use the BeamNG.drive level editor. And select Flat rather than Noise for the last option. Click Create New and your terrain should now appear. Use the Object Editor's Move tool to raise/lower the terrain along the blue axis, so that the ground is at the same level as the middle of the green spawn sphere. If you do not do this now, you will always spawn either above or below the terrain, damaging your vehicle on spawn.


